Making use of DIY means making your own improvements in the kitchen will not only be fun yet corrective to the appearance and utility of a kitchen. These ideas enable any homeowner to make their kitchen look better and feel comfortable by changing the storage and redesigning and improving the surfaces of the kitchen.
Kitchen home improvement projects are also challenging enough to accomplish on your own and they will allow you to boost the value of the kitchen space. A simple concoction and some effort on the part of Do-It-Yourself personnel will help them create and remodel a beautiful and efficient kitchen without overspending.
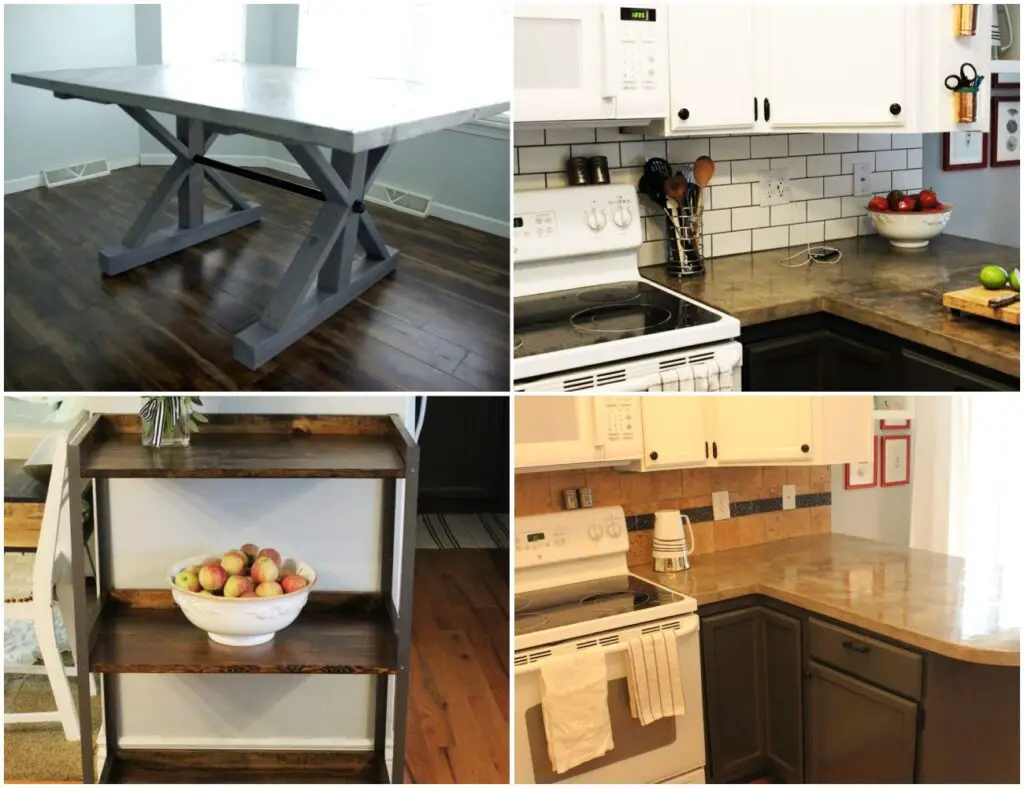
DIY Farmhouse Table
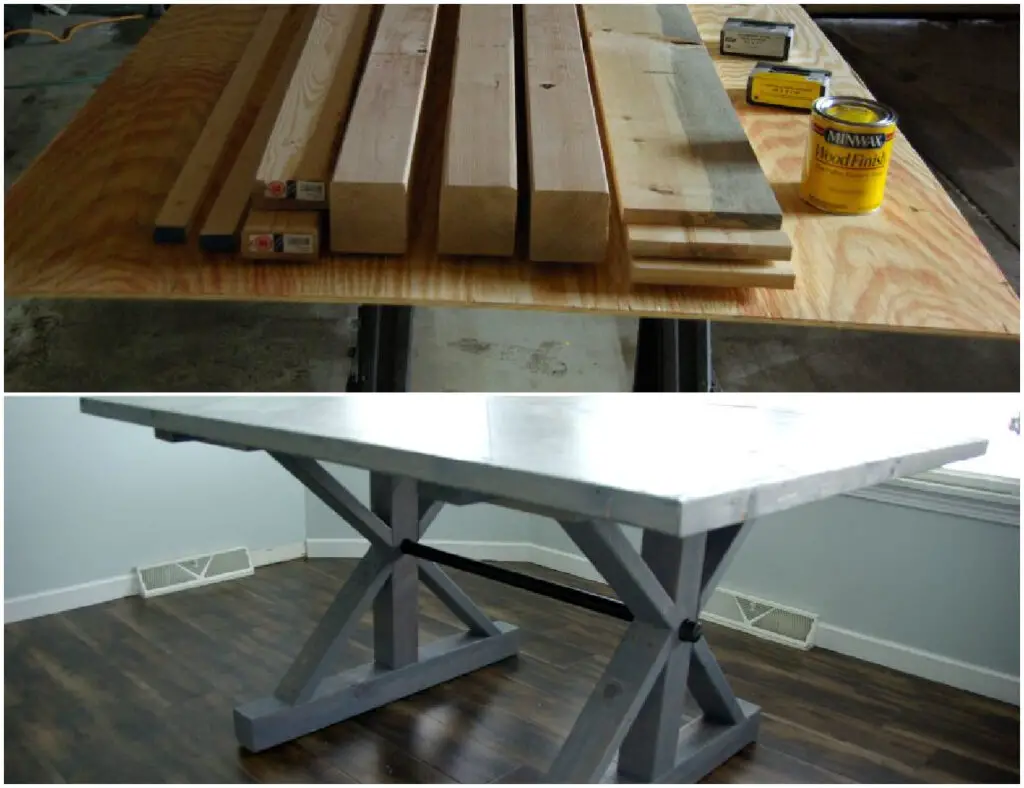
This farmhouse table is made to outlast the average furniture piece in your home. This table, as expressly designed by Emily Burmeister, uses solid wood planks and plywood for the tabletop and a wooden X-shaped frame. Besides, it has a great look as is, but the available instructions for preparing the cabinet are quiteLEAR02 flexible to let people make some alterations of it in accordance with the people’s taste of the kitchen. Assemble all the items you will require in this project right from the onset; wooden planks of different thickness, plywood, stain, sanding blocks and a 3ft galvanized pipe.
For her own table, she created a chevron table top, however you could choose a different pattern to be included on your table. Instead of a paint, she opted for a gray stain, to keep with the farm house appearance; however, if you feel that would be more appropriate for your kitchen then please go ahead and paint.
DIY Concrete Countertops
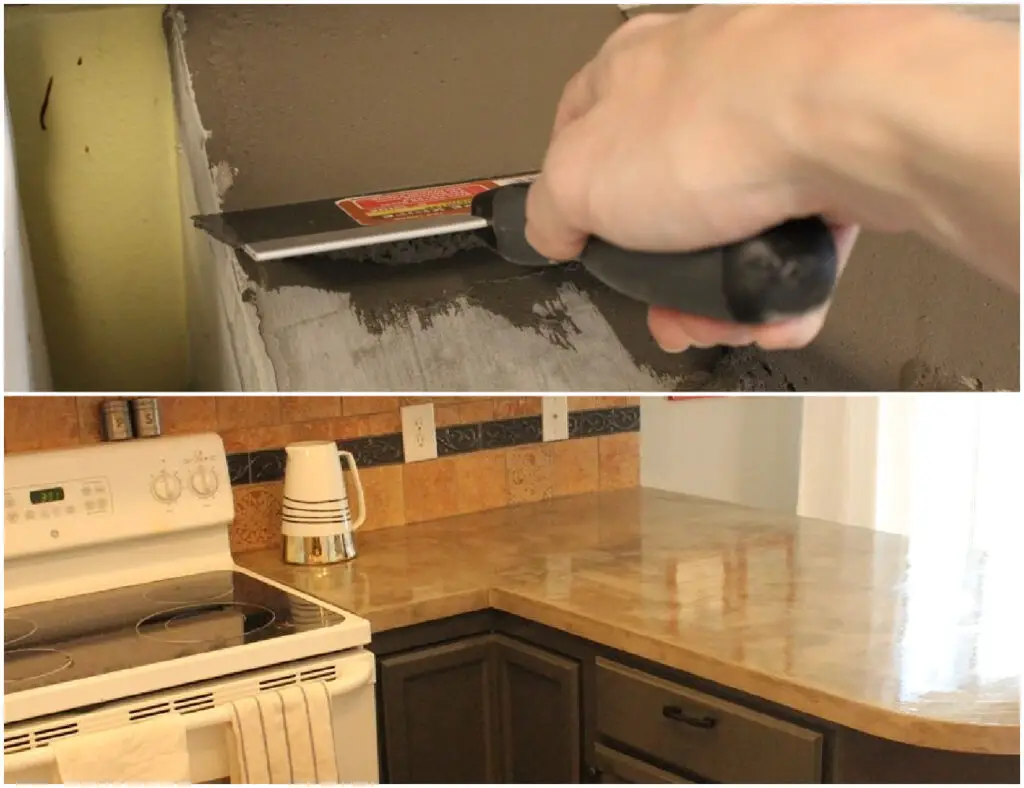
Laying on top of the countertops can be incredibly beneficial if you want to upgrade your old laminate and make it much more sturdy. While they have a raw industrial aesthetic, concrete counters are suitable for use in industrial kitchens but equally appropriate in today’s modern, contemporary, and even farmhouse kitchens. As for the appearance you can choose to add colors to the concrete or leave it the default which is gray color.
This project is a good one for anyone trying their hand at DIY or if you’ve been doing it for some time now. It is not free-form, but the instructions turn-by-turn and they include illustrations so that the notion of what the project should be at any given time is not a mystery.
DIY Industrial Rolling Cart
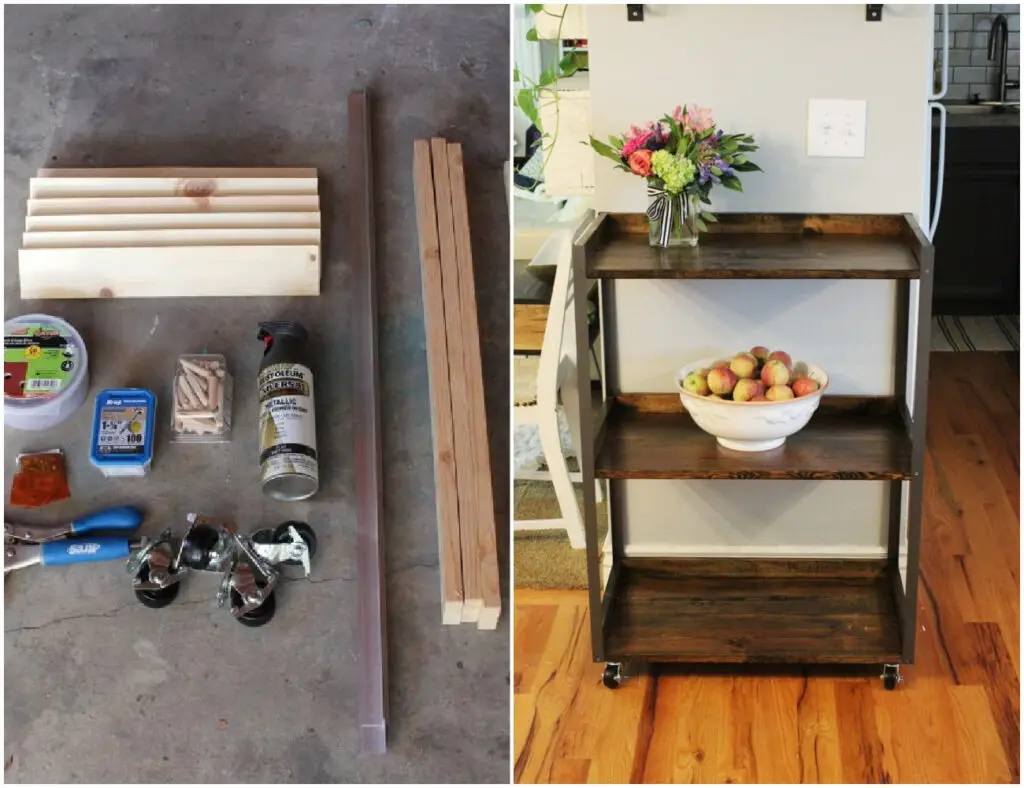
The rolling carts are very useful in kitchens and are there used for additional storage where you add the more attractive and decorative items such as dishes. This heavy buildup enables the shelves to support even heaverirons like utensils, cookeryware and home appliances for the kitchen. The rolling design makes it easy to relocate them in the are where these bulky items are often required. Due to its beautiful and modular design, this cart is also perfect if you need to introduce storage into other spaces.
This project will most probably not work for those that are new into DIY or are not so experienced in it in the first place. It does mean a drastic use of materials and some woodwork knowledge, intermediate though, however this project is so well thought out and illustrated that you will always know what to do next. When you are done, you will have a glamorous rolling cart which you’ll make every room in your house fetching.
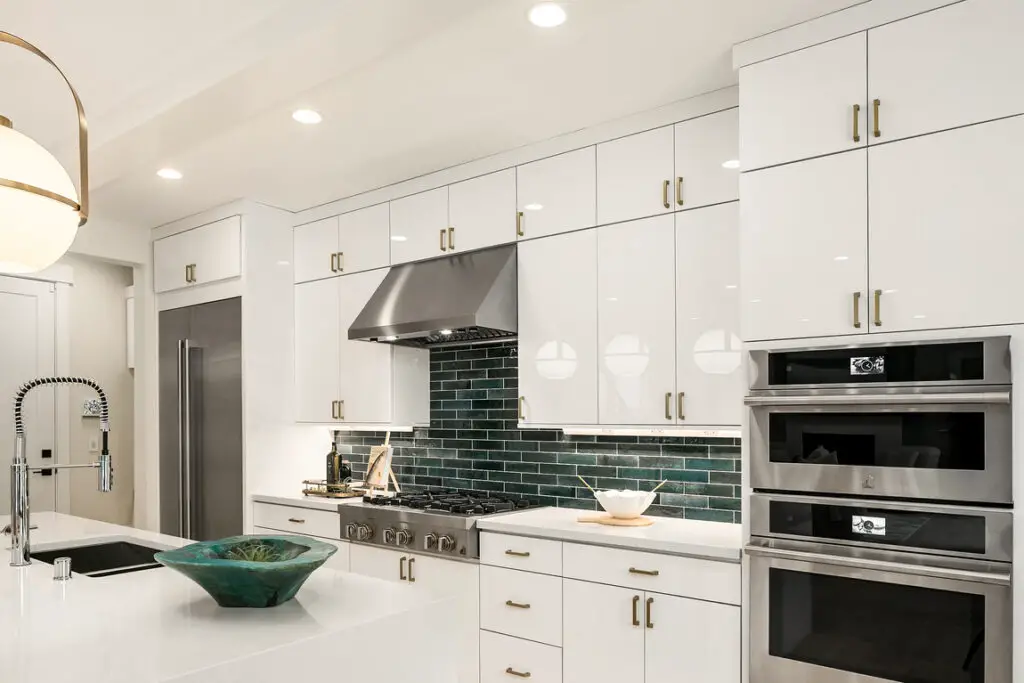
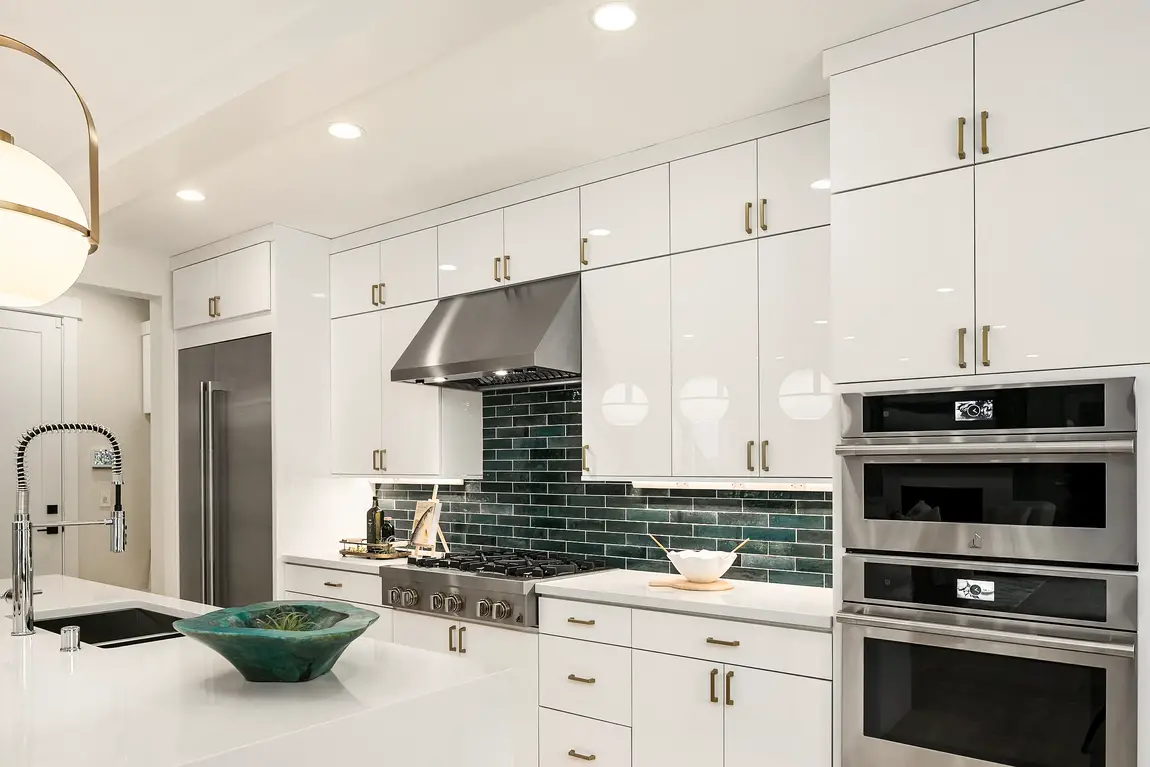
DIY Subway Tile Backsplash
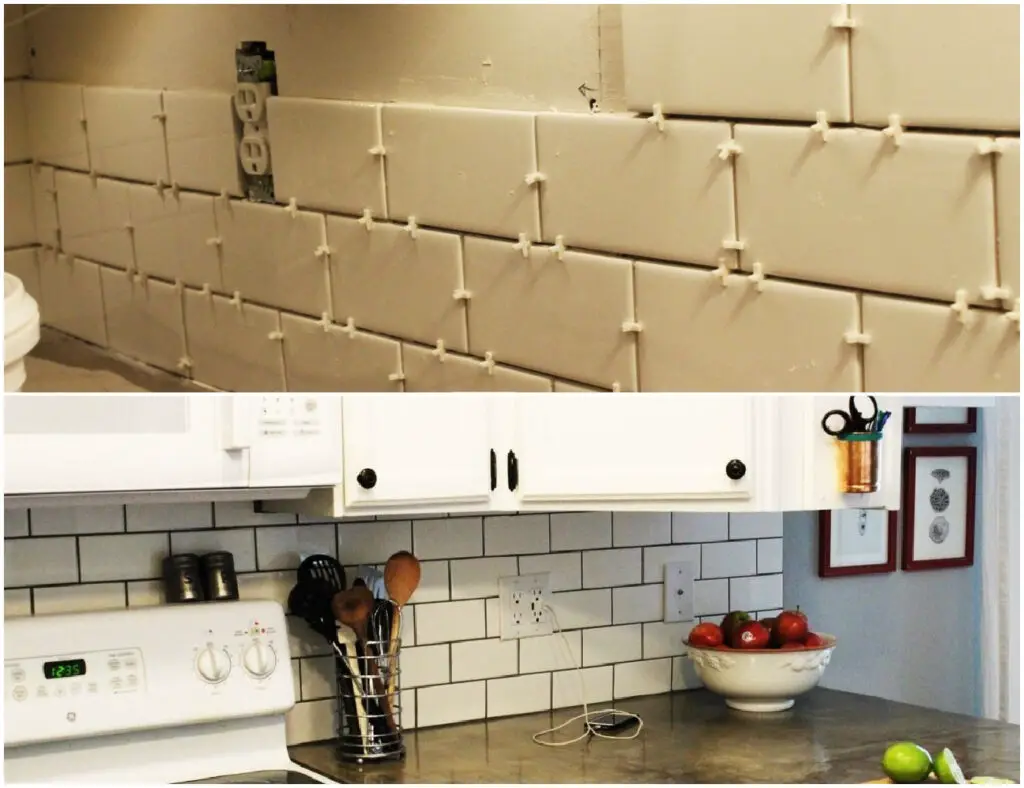
Whether or not subway tile is still trendy depends on the home design community, or any other field and specialised home decoration discussion. It is thus our opinion that this type of tile will always remain popular, not only because of their relatively unassuming form but also because the abundance of sizes, colours and even materials that can be used to create these tiles. For this tutorial the resident DIYer painted the subway tiles with the most basic color available, white. This will help their kitchen look clean and simple so as to add some flavor and style. It is important since the color of the grout is a dark warm gray which complements the dark gray countertops that add more of an industrial feel to the kitchen setting.
This particular project is very uncomplicated; however, it can only be performed at an intermediate level. After installing the tiles is pretty simple but cutting the tiles around outlets and edges entails some expertise with a wet saw and measuring. When all the tiles have been distributed and grouted they have to be left to dry before the last sealer can be applied. It does remove any color from the sealer and it does need to be reapplied at least once per year to help keep the grout from discoloring and breaking down.